PHOTICA.NET
The Photica Project: Pronounced "Foe-Tea-Ka"
I've been collecting (really just gathering) glass negatives for years. They were little more than a curiosity with me until a couple of years ago. That's when I discovered that I could scan the negatives into my computer and view them as positive images.
My first scanner was an old flat bed -- not really very compatible with transparencies. Still, I managed to get a few low quality images and was able to at least get a better view than just holding it up to a light.
Recently, decent quality scanners with transparency adaptors have become affordable. I have been going nuts with mine. I can now view a positive image, with great detail, and even print it out with reasonable quality on my ink jet printer.
I'm building this branch of the Photica web site to share some of my images with my friends. Here you might get a taste of the enthusiasm I feel when I...
"Take a Look Back In Time"
Click on the thumbnails below to see a larger view. The larger pictures are low-res to keep the file size down to about 30K bytes each.
1.
 2.
2.
 3.
3.
4.
 5.
5.
 6.
6.
 7.
7.

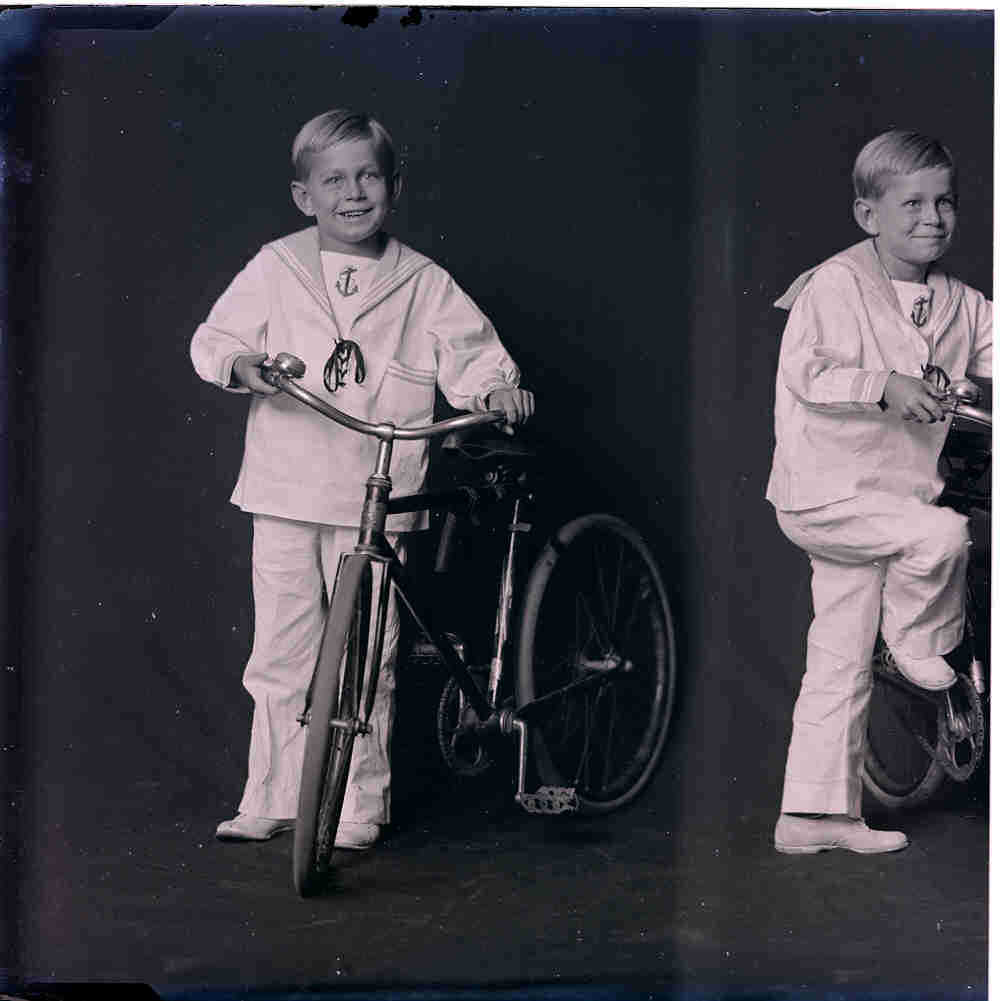
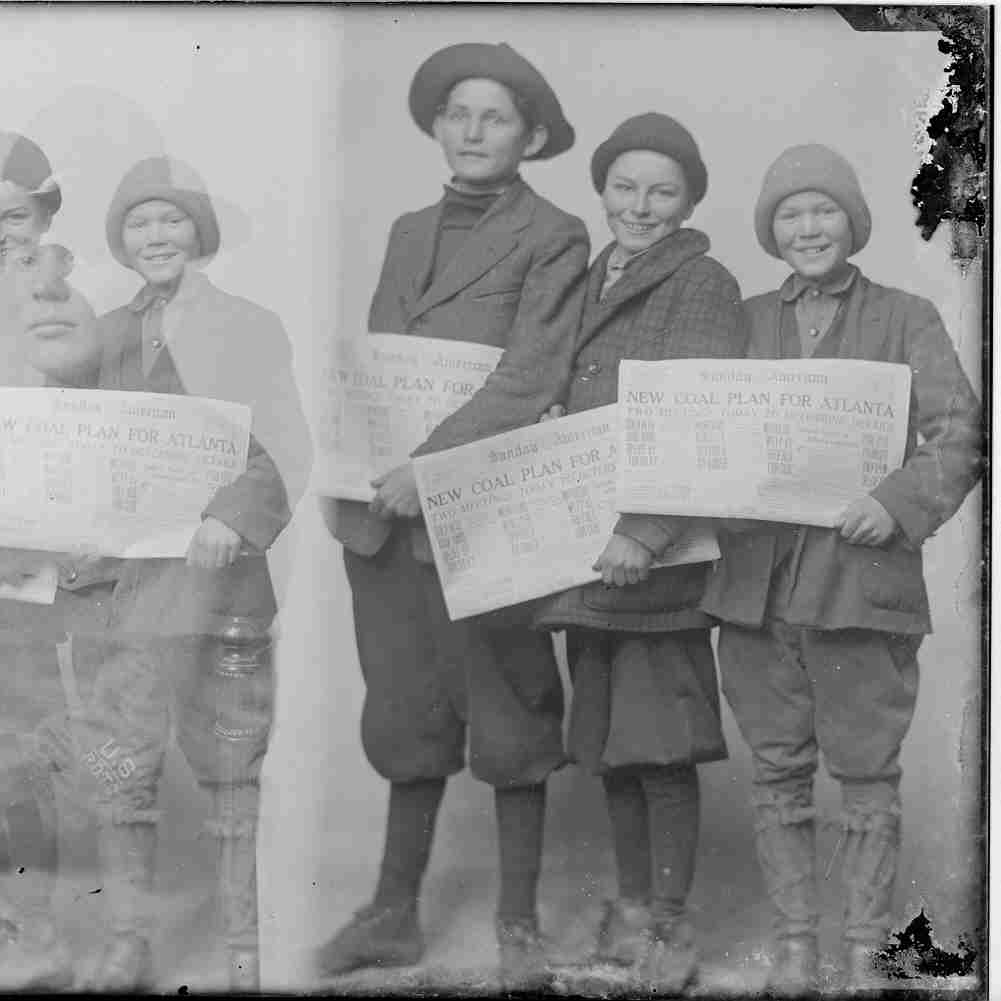
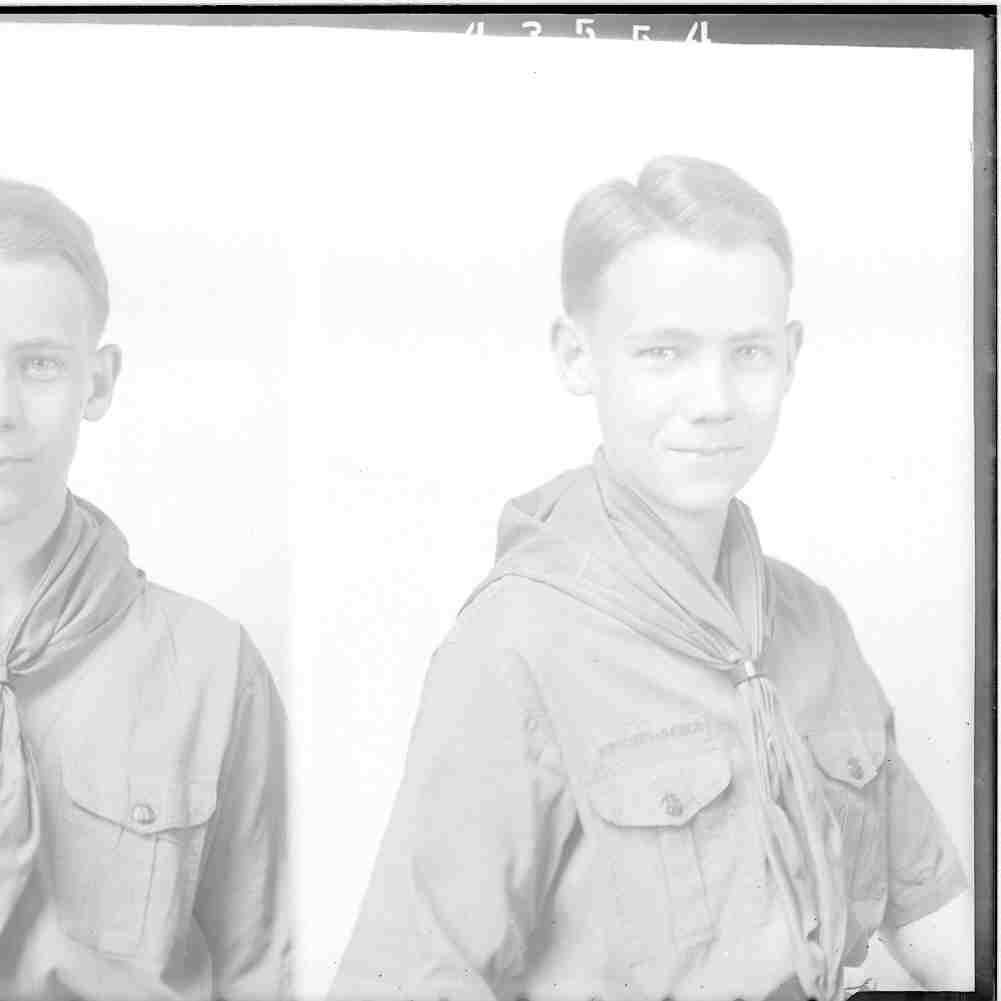
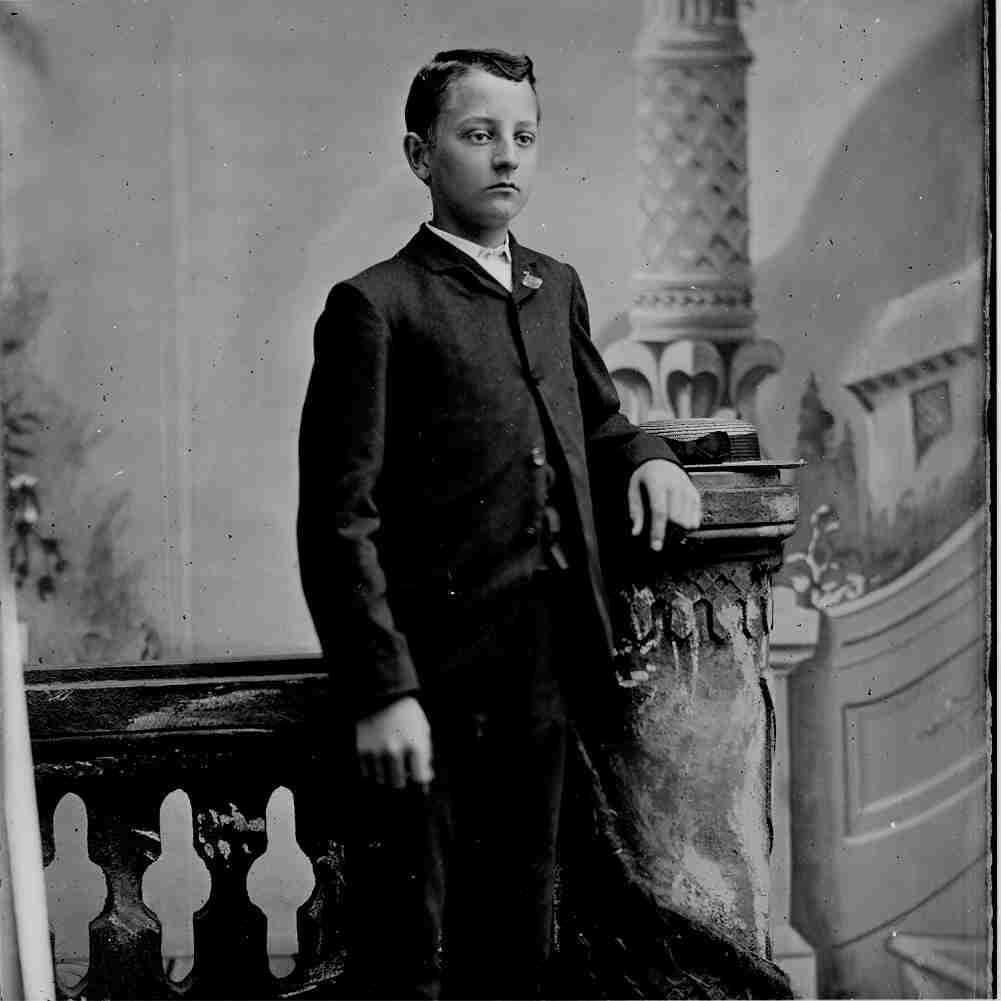
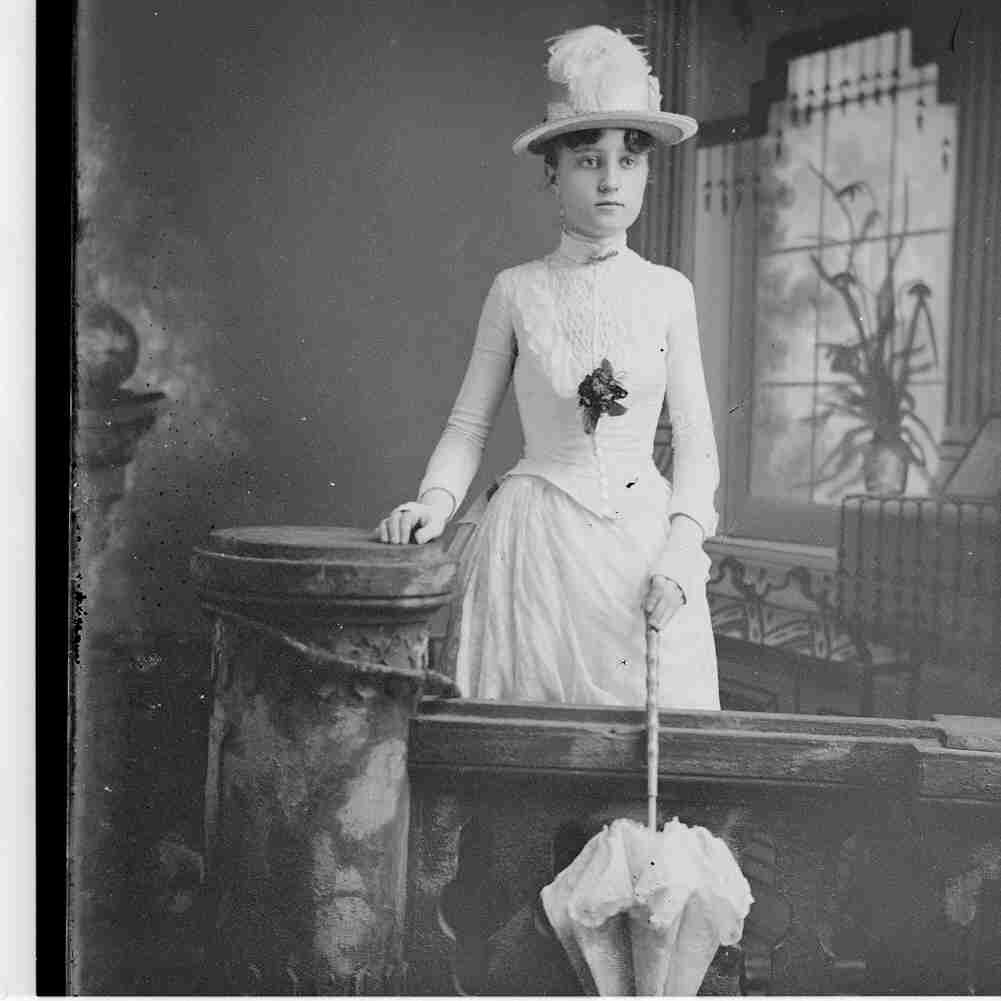
The first three photos are actually 5x7 negatives cropped to 5x5. They demonstrate the results of using one 5x7 plate to get two images. The photographer used a sliding plate holder which repositioned the plate. You get a little overlap but that is cropped out during the printing process. This photographer had a 5x7 enlarger which made this process quite effective. Some early photographers did not use an enlarger. Instead, they would make a simple contact print. The resulting photo would be the same size of the negative. This left little opportunity to correct for imperfections in the image. However, the whole process was as efficient as the technology of the day allowed.
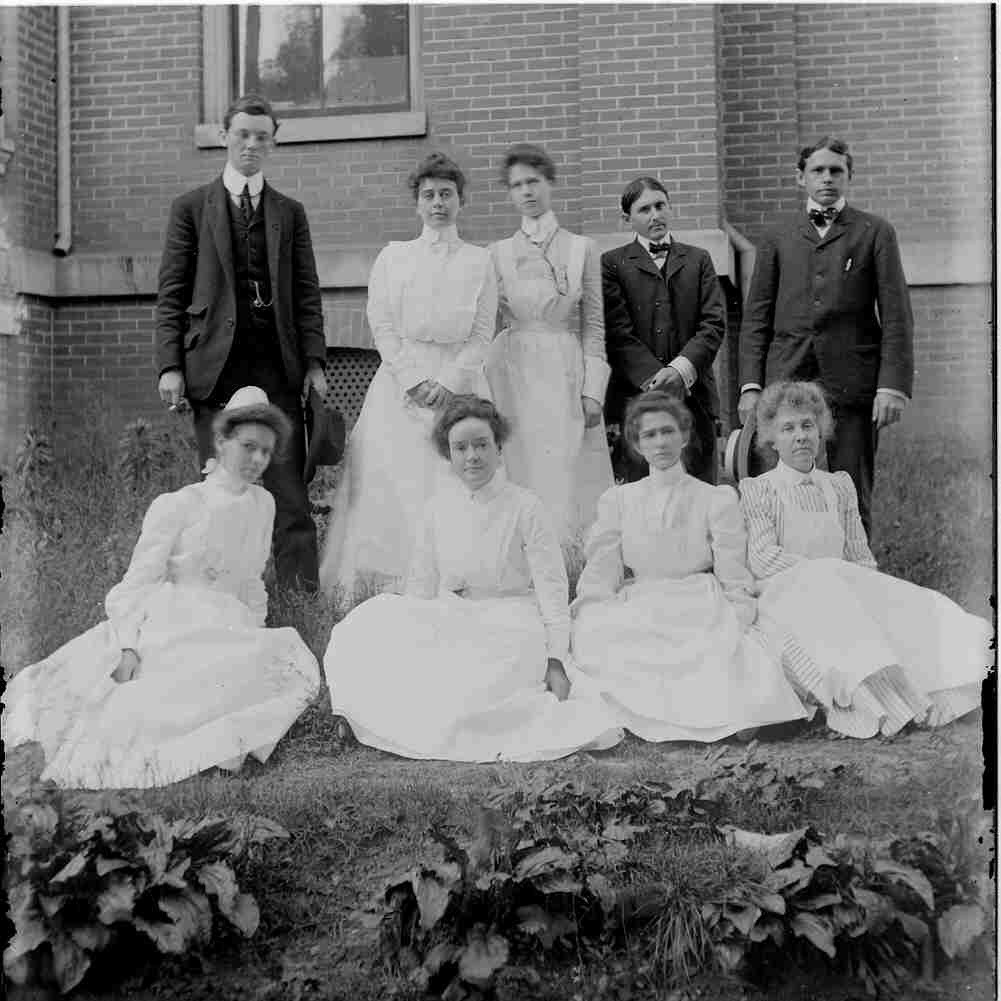
Photo number 4 is a rare street scene on a 5x7 glass negative. The equipment used for large format photography is heavy and bulky. Candid or even semi-candid street scenes are unusually in the 5x7 and larger formats. More common, are posed shots as in number 5 and of course the studio portraits in photos 6 and 7.
8.
 9.
9.
 10.
10.
 11.
11.
12.
 13.
13.
 14.
14.

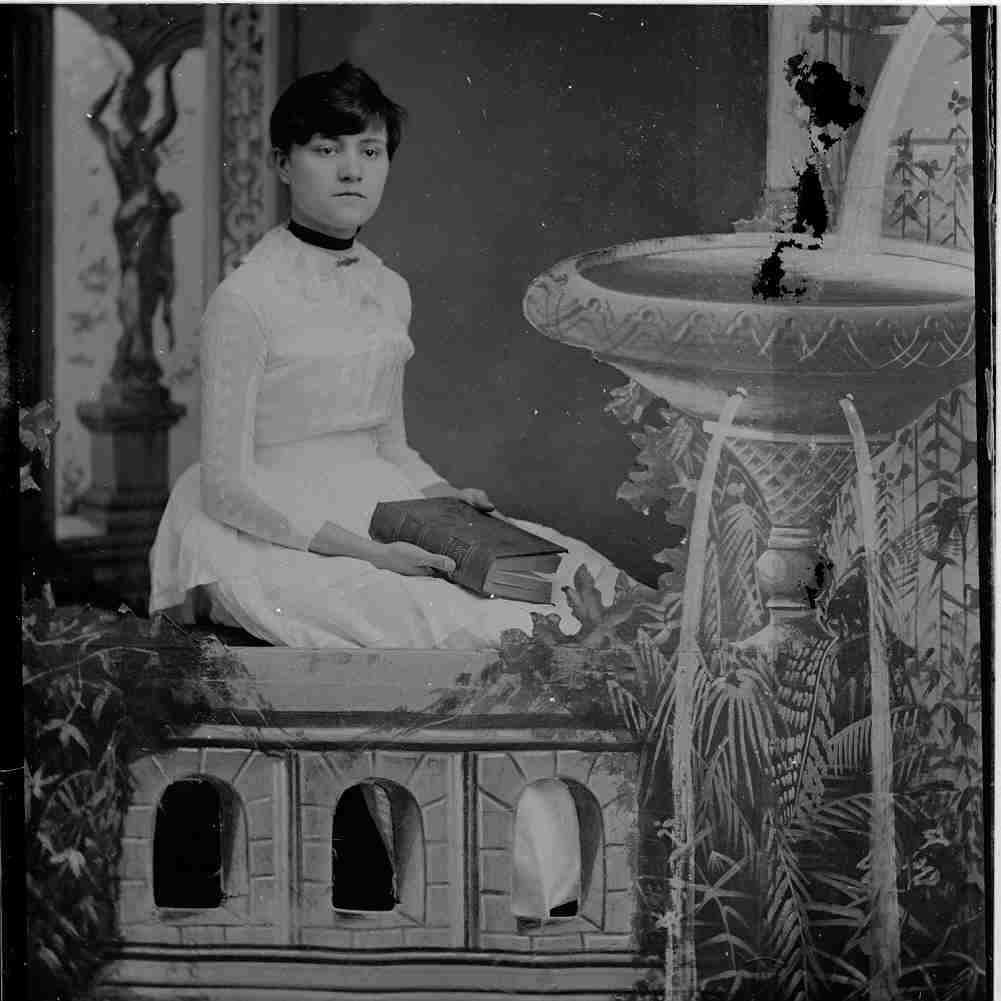
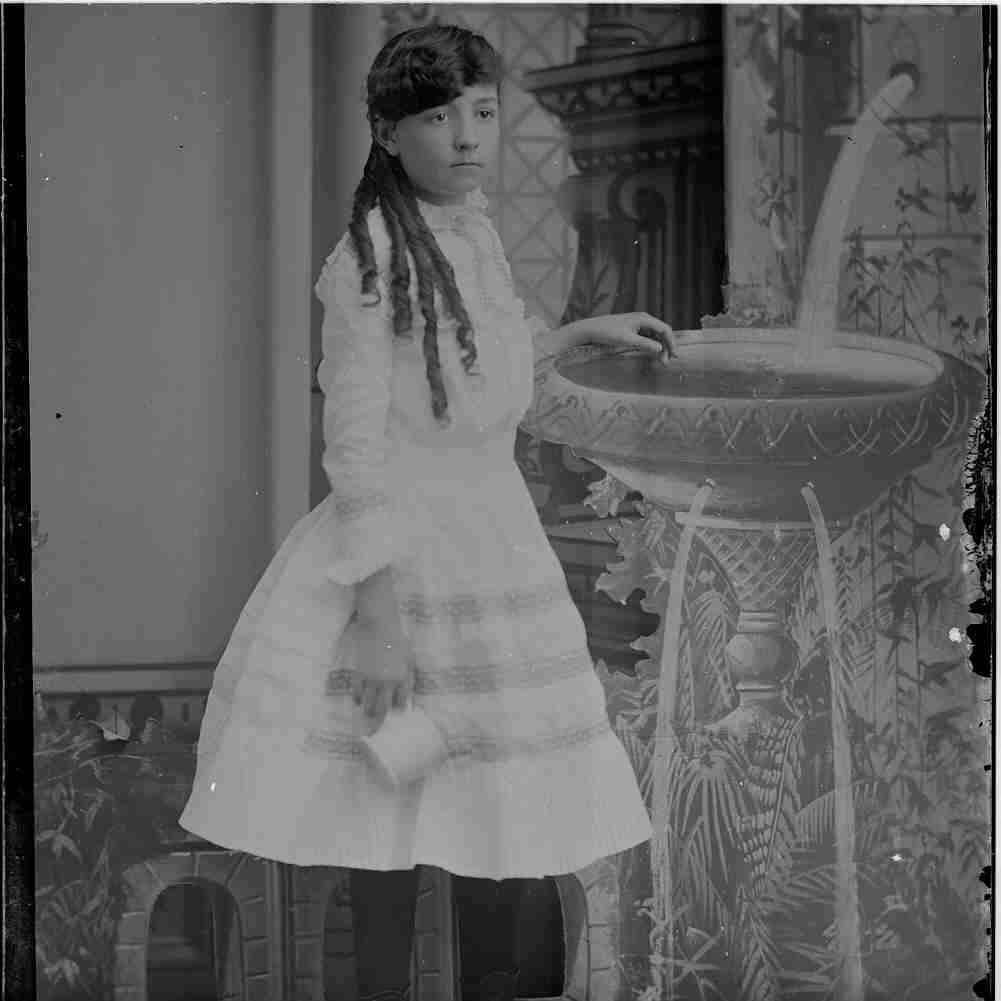
Studio props were used to make the portraits seem more natural. Close examination of these images reveals that the props were actually two dimensional. With some cleaver positioning and a couple of three dimensional additions, the scene can take on a complex and very interesting character. Take a close look at 11 and 12 to see two different uses of a two dimensional water fountain.
Post processing of the negative can also result in an interesting effect. The emulsion on 13 is actually rippled everywhere except the face to give a textured appearance. It's likely this effect was achieved by "hardening" only the face area after development. Then, either through a chemical process or by using hot water, wrinkling the unhardened emulsion -- a process known as reticulation.
Negative 14 has spots on it giving the illusion of snow. Both demonstrate a creative touch to early studio photography.
-----------------
Every now and then you run across a great find that gives you a chance to learn a little about what life was like 80, 90, or 100 years ago. Click here to see what I mean Southern Indiana
I found a great set of glass negatives of Niagara Falls about 100 years ago.